Settings
User Management on SaaS Insights
SaaS Insights provides you the ability to manage separate accounts for individuals in your team.
Utilizing separate accounts for individuals is highly recommended for security reasons as it eliminates the need to share access details.
There is no limit to the number of users you can add to your account, enabling flexibility in how you manage your team.
User Roles and Permissions
Upon creating a SaaS Insights account, an initial user is designated as the Owner. All other users are designated as Members.
Owner
The Owner has complete control over the account, including the ability to:
- Invite new users and remove existing ones
- Change the account’s Owner
- Access and perform Owner-exclusive tasks
- Perform billing and notification management
- Manage Shopify and Google Analytics link integrations
- Manually adding Shopify Apps
- Deactivate the account
Member
Members have more limited capabilities, which include:
- Viewing metrics and analytics
- Lodging support tickets
- Viewing team member information
Adding a New Team Member
To expand your team, follow these steps:
-
Navigate to the Settings > Team Members page.
-
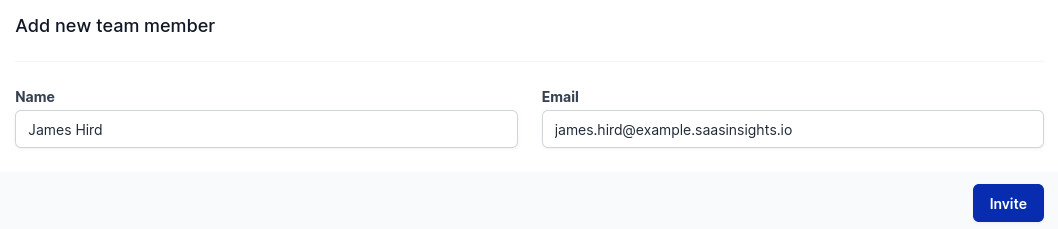
Input the name and email of the prospective team member and click Invite.
-
If they do not have an account, an invitation will be sent via email to join SaaS Insights. Once their account is created, they will be listed as Active.

-
If they already have a SaaS Insights account, they will be automatically linked to your account and notified via email.

-
If they do not have an account, an invitation will be sent via email to join SaaS Insights. Once their account is created, they will be listed as Active.
Removing a Team Member
If you need to revoke access for a team member, the process is straightforward:
-
Navigate to the Settings > Team Members page.
-
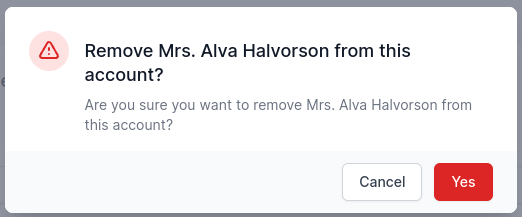
Click the Remove button adjacent to the member’s details.

-
Confirm the removal by clicking Yes in the confirmation pop-up.
-
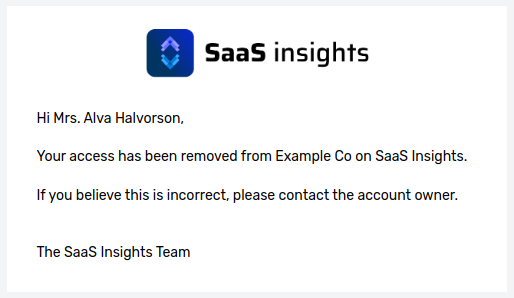
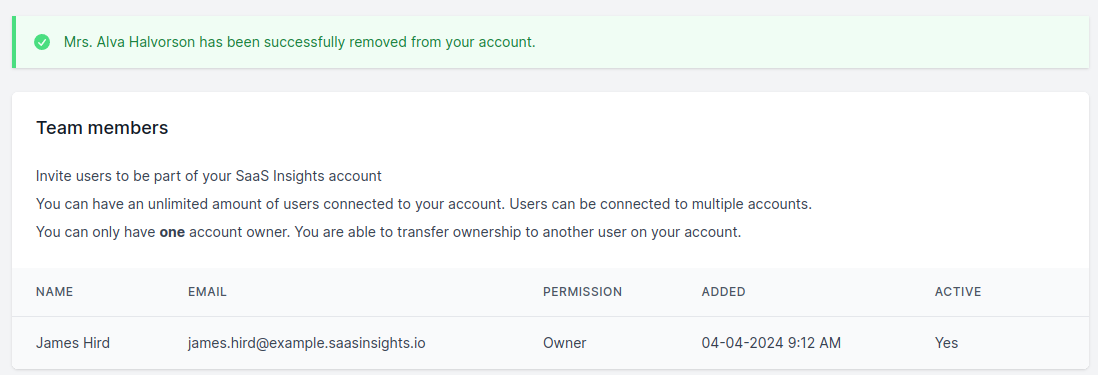
The removed user will receive an email notification.
-
Updated Team Members page which no longer shows the removed user.
Converting a Team Member to Owner
Existing Owners are able to switch the accounts Owner to another team Member. An account can only have one Owner. Only an Active team Member can be elevated to Owner.
To switch the team Owner:
-
Navigate to the Settings > Team Members page.
-
Click the Convert to Owner button next to the Member that is to be elevated to Owner.

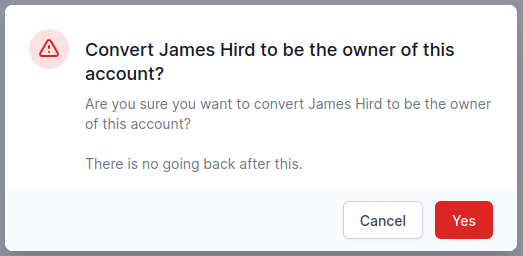
-
Confirm the conversion by clicking Yes in the confirmation pop-up.
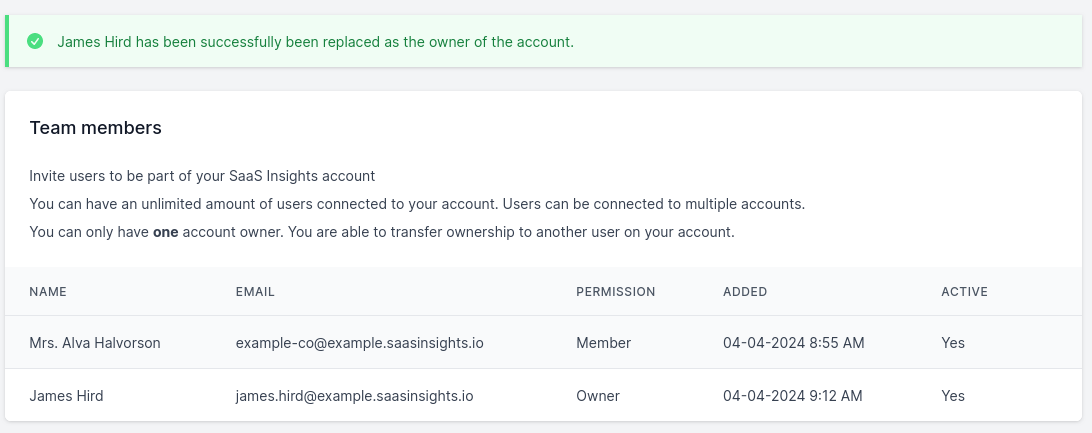
-
Updated Team Members page showing the user Owner has been swapped.
Switching Between Accounts
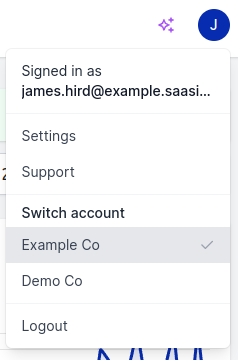
For users associated with multiple accounts, switching is made easy through the navigation bar:
- Desktop users can switch by hovering over their user icon and selecting the desired account.
- Mobile users can switch accounts via the navigation menu.
- Previous
- Subscription Trials